Contacts Overview
The Contacts module allows you to manage people and organizations such as Customers, Suppliers, and Candidates in one centralized place. Each contact stores essential personal, business, and compliance information and acts as a hub for communication, tasks, documents, and activity tracking.
Contacts are structured using Contact Types, and each contact type can have its own custom fields, permissions, and layouts. This ensures flexibility while keeping data organized and consistent across the system.

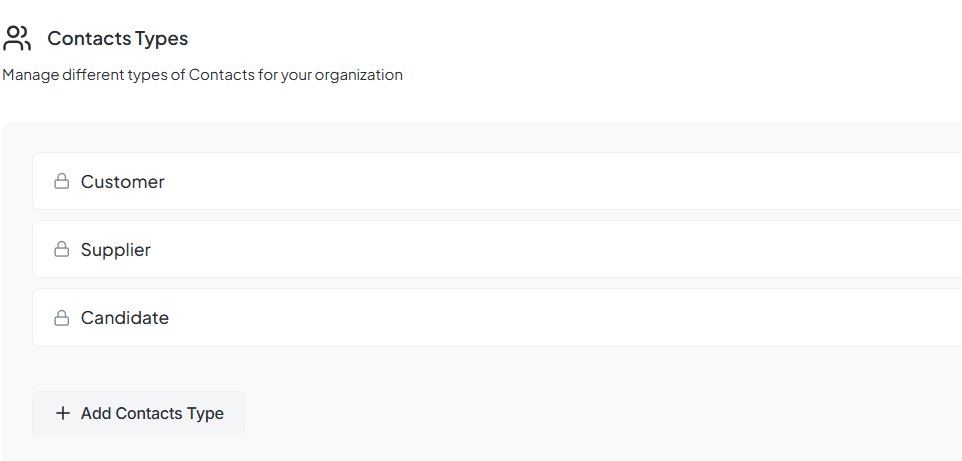
Contact Types
Contact Types define how contacts are categorized and what information is captured for each category. Each contact belongs to exactly one contact type.
Customer
Business clients and customers
Supplier
Vendors, partners, and service providers
Candidate
Job applicants and individual contacts
Dynamic Category Management: Note that Contact Types are not static. Organizations can add, rename, or delete contact types to match their specific business model.
Configuration GuideManagement
Contact Types are managed from Settings → Contacts. From here, administrators can configure fields and permissions for each contact type independently.
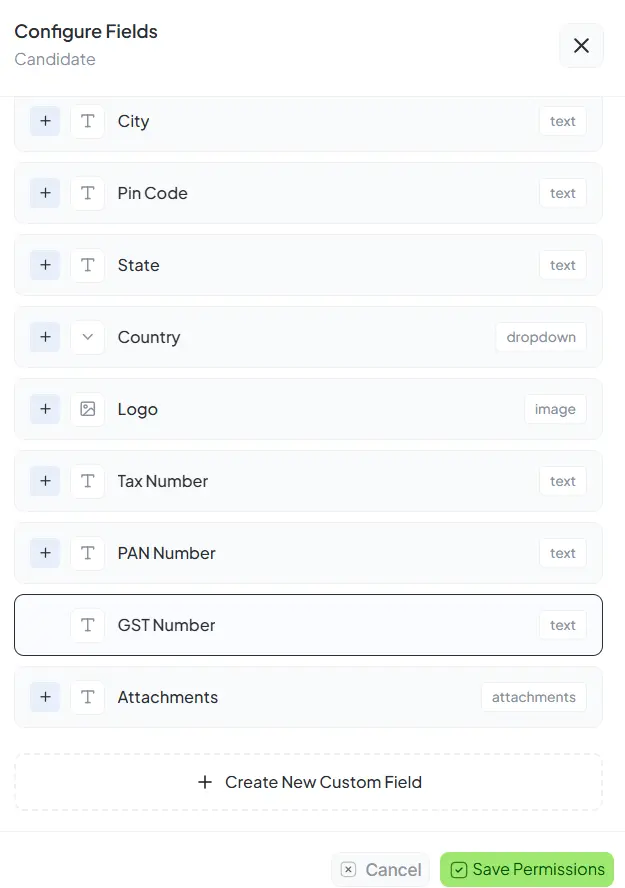
Configure Fields
Each Contact Type has its own configurable fields. These fields determine what information appears when creating, editing, or viewing a contact of that type.
How to Configure Fields
- 1 Go to Settings → Contacts
- 2 Select a Contact Type (Customer, Supplier, or Candidate)
- 3 Click Configure Fields
- 4 Add, remove, or reorder fields and Save permissions
Common Fields
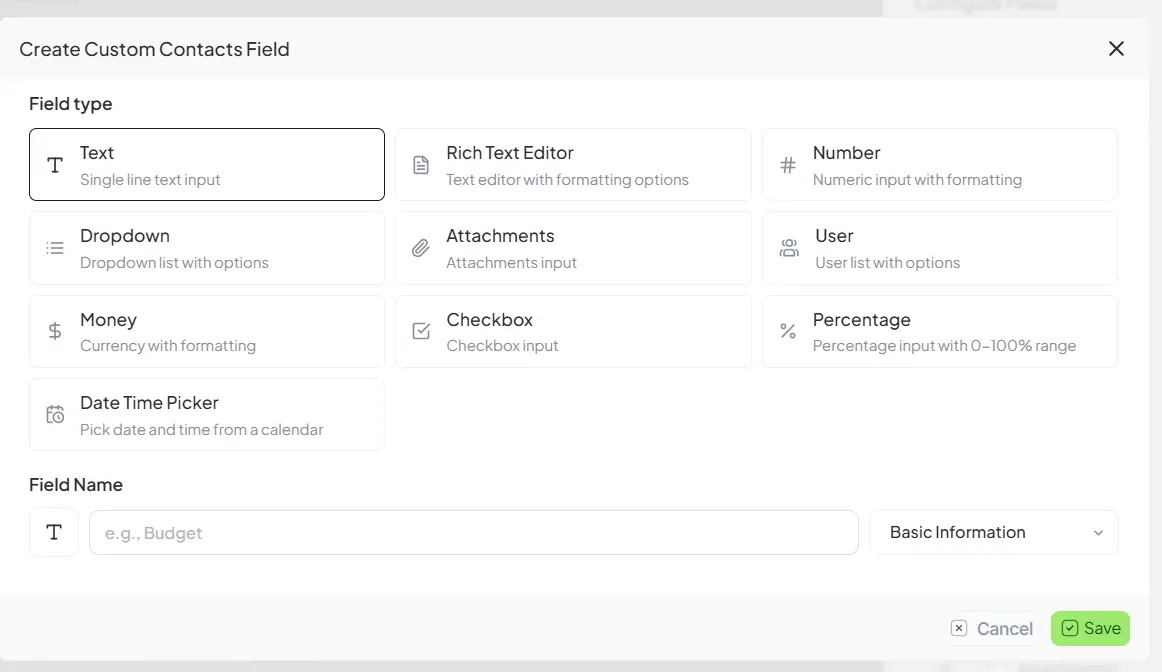
Custom Contact Fields
Custom Contact Fields allow you to capture additional information specific to your business needs. These fields are created per Contact Type and appear automatically in forms and contact details.
How to Create
- Open Configure Fields for a Contact Type
- Click + Create New Custom Field
- Select a Field Type
- Enter the Field Name and Save
Supported Field Types
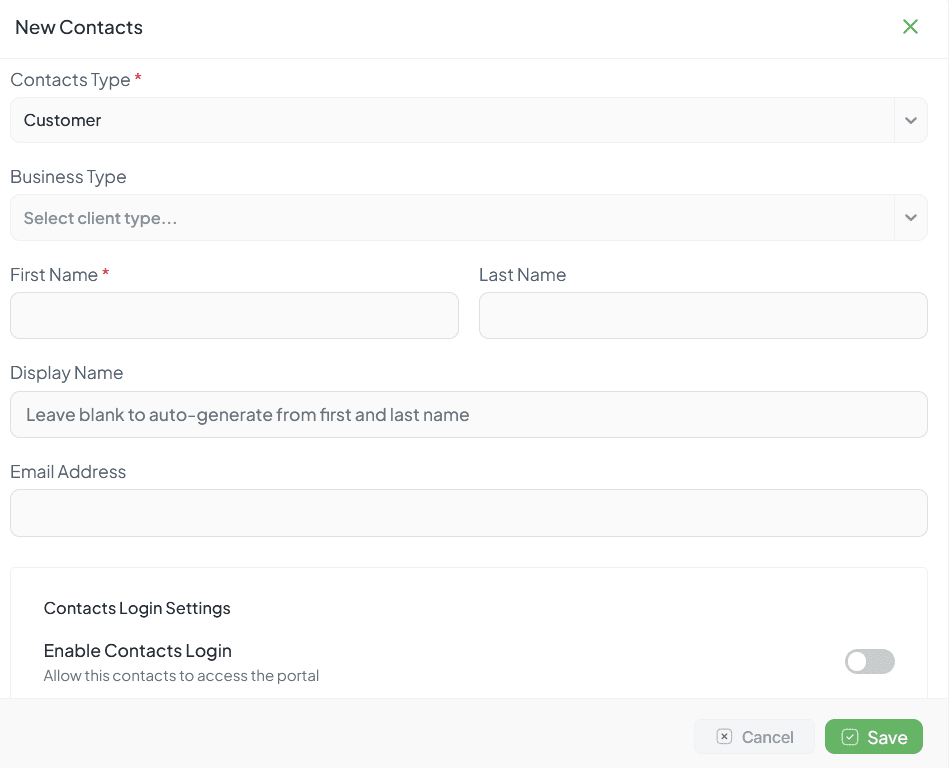
Add & Edit Contact
Add New Contact
- • Click New Contact
- • Select the Contact Type
- • Enter required basic information
- • Fill in custom fields configured for that contact type
- • Click Save
Edit Contact
- • Open the contact and click Edit
- • Update fields as needed
- • Click Save changes
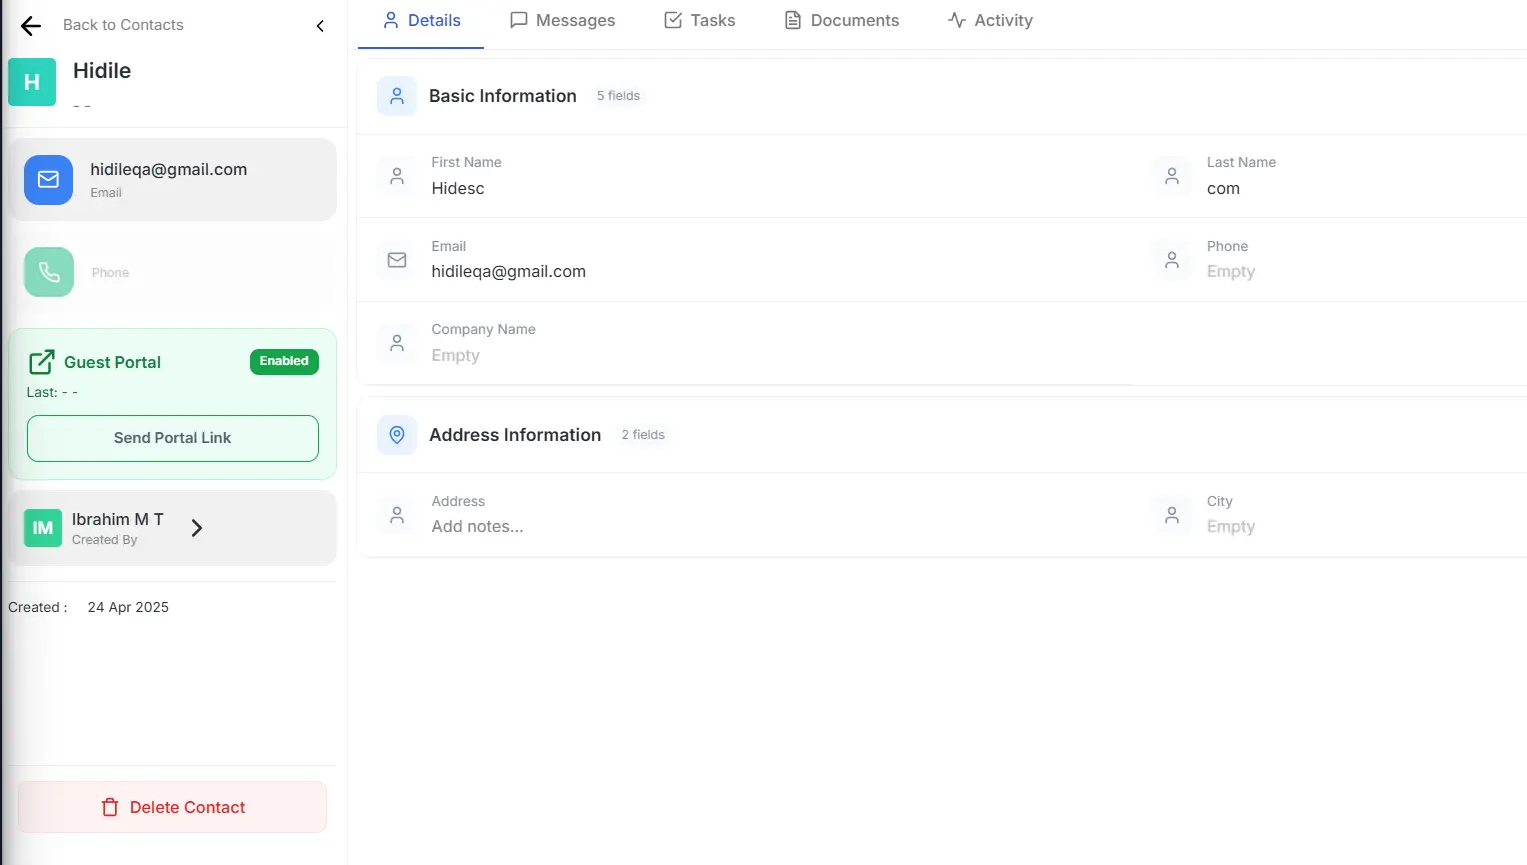
Contact Single Page
The Contact Single Page provides a complete, unified view of a contact and all related information.
Details Tab
Basic Info, Address, Custom Fields, Guest Portal Status
Messages
Communication history and linked chat sessions
Tasks
Assigned tasks, status tracking, and progress
Documents
Contracts, IDs, agreements, and uploaded files
Activity
Timeline of updates, field changes, and audit history
Permissions
Strict field-level visibility controls
★ Best Practices
- 01. Use Contact Types consistently to keep data structured and reporting accurate.
- 02. Create Custom Fields only when necessary to avoid cluttering forms.
- 03. Group related information logically using Configurable Fields.
- 04. Restrict sensitive fields using Permissions to maintain data privacy.
- 05. Keep contact information updated regularly to reflect status changes.
- 06. Use Attachments for official documents instead of storing long IDs in text fields.