General Settings
Use General Settings to personalize how your workspace looks and feels for everyone. Changes here are organization-wide unless noted.
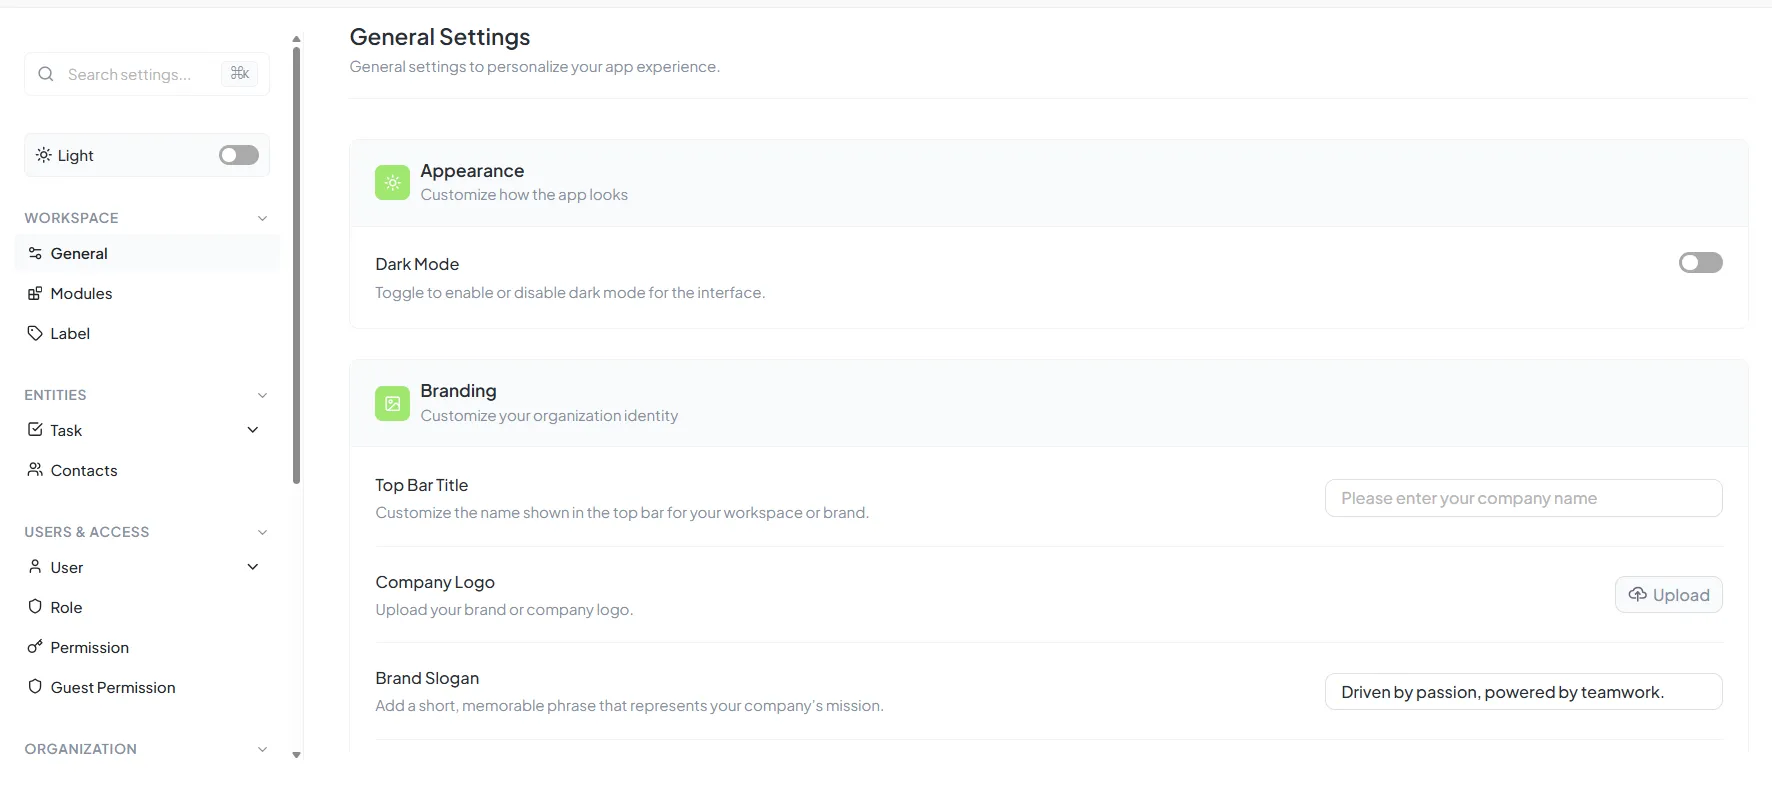
General Settings interface for system configuration
Access & Permissions
Who can edit
Workspace Owners/Admins (or anyone with "Branding/Settings: Edit" permission).
When it applies
Most changes are immediate for all users after you save or upload.
Appearance
Dark Mode
What it does
Toggles the interface between light and dark themes for better visual comfort.
Scope
Personal preference if your plan supports per-user theming; otherwise applies to the whole workspace.
How to use
Switch the Dark Mode toggle on/off. The UI updates immediately with the selected theme.
Branding
Top Bar Title
What it is
The name shown in the application's top bar (header) across all pages.
How to update
- Type your company/workspace name in Top Bar Title field
- Click Save to apply changes
Tips
- Keep it short to prevent truncation on smaller screens
- Avoid special characters that may be blocked by browser fonts
- Use clear, recognizable branding for better user experience
Company Logo
What it is
Your brand mark shown in headers, login screens, and share previews throughout the application.
How to update
- Click Change and select an image file
- Confirm to replace the existing logo
- Use remove/reset icon to revert if available
File Guidance
- Formats: PNG or SVG (SVG renders crisply at any size)
- Background: Use transparent PNG/SVG for theme blending
- Size: Wide horizontal version (~240×60px+) for top bar fit
- Quality: High-resolution for professional appearance
Brand Slogan
What it is
A short tagline representing your mission (e.g., "Innovating Today for a Better Tomorrow").
Where it appears
Login/landing screens, emails, share cards, and other selected locations.
How to update
Enter the text and it autosaves, or click Save if shown.
Best Practices
- Keep under ~80 characters for optimal display
- Avoid quotes if your theme already styles slogans
- Use clear, memorable language that reflects your brand
Site Favicon
What it is
The small icon shown in browser tabs for easy site identification.
How to update
- Click Upload button
- Choose a small square icon file
- File saves automatically upon selection
File Guidance
- Sizes: 16×16 or 32×32 px are standard dimensions
- Formats: ICO, PNG, or SVG (browser compatible)
- Design: High contrast for legibility at tiny sizes
- Simplicity: Clear, recognizable symbol or letter
Customization
Custom Labels
What it is
Enables custom labels/tags across items (tasks, projects, etc.) to fit your specific terminology and workflow.
How to use
- Turn the Custom Labels toggle On
- Navigate to Labels/Taxonomy area when prompted
- Create, color, and manage custom labels as needed
Notes
- Turning off keeps existing labels but may hide them from views
- Some modules may require page refresh to reflect new label sets
- Custom labels help align platform terminology with your business language
Saving & Rollback
Saving
Fields with Save buttons require confirmation click; uploads usually save automatically upon selection.
Cache/Refresh
If changes aren't visible, hard-refresh pages or clear cache and verify role permissions.
Reverting
Re-upload previous assets or remove values to revert to defaults when supported.
Task Label
Purpose
The Task Label setting allows users to rename the terminology used for "Task" throughout the application interface. This helps teams adapt the platform to their own language or workflow methodology.
Field Type
Dropdown menu with predefined options
Options Provided
Task (Default)
Objective
Token
Description
You can choose how tasks are referred to across the platform. Once selected, this label replaces the word "Task" in all task-related views, menus, and features.
Example
If you choose "Objective", the UI will show "Create Objective", "Objective List", "Completed Objectives", etc., instead of "Task" terminology throughout the application.